Oh, how time flies!
C-Line has had quite a hectic schedule. Now with school being back in session, I believe we all need to be on top of our game and prioritize our tasks. Therefore, I would like to show you how I used the
Dry Erase Sheets to organize my schedule at work.
Need to create charts, calendars or to-do lists? The Dry Erase Sheets are great because they can be customized into anything you want them to be. You may even trim them into any shape that you prefer. As seen in the image below, I drew a calendar on the Dry Erase Sheet with permanent marker. Then, I fill in any necessary information with a dry erase marker. Don’t worry if you make any mistakes with your dry erase marker because it can be erased with an eraser. If you’re more tech savvy, you can create graphs or images with your computer and print on it with a laser printer or copier.
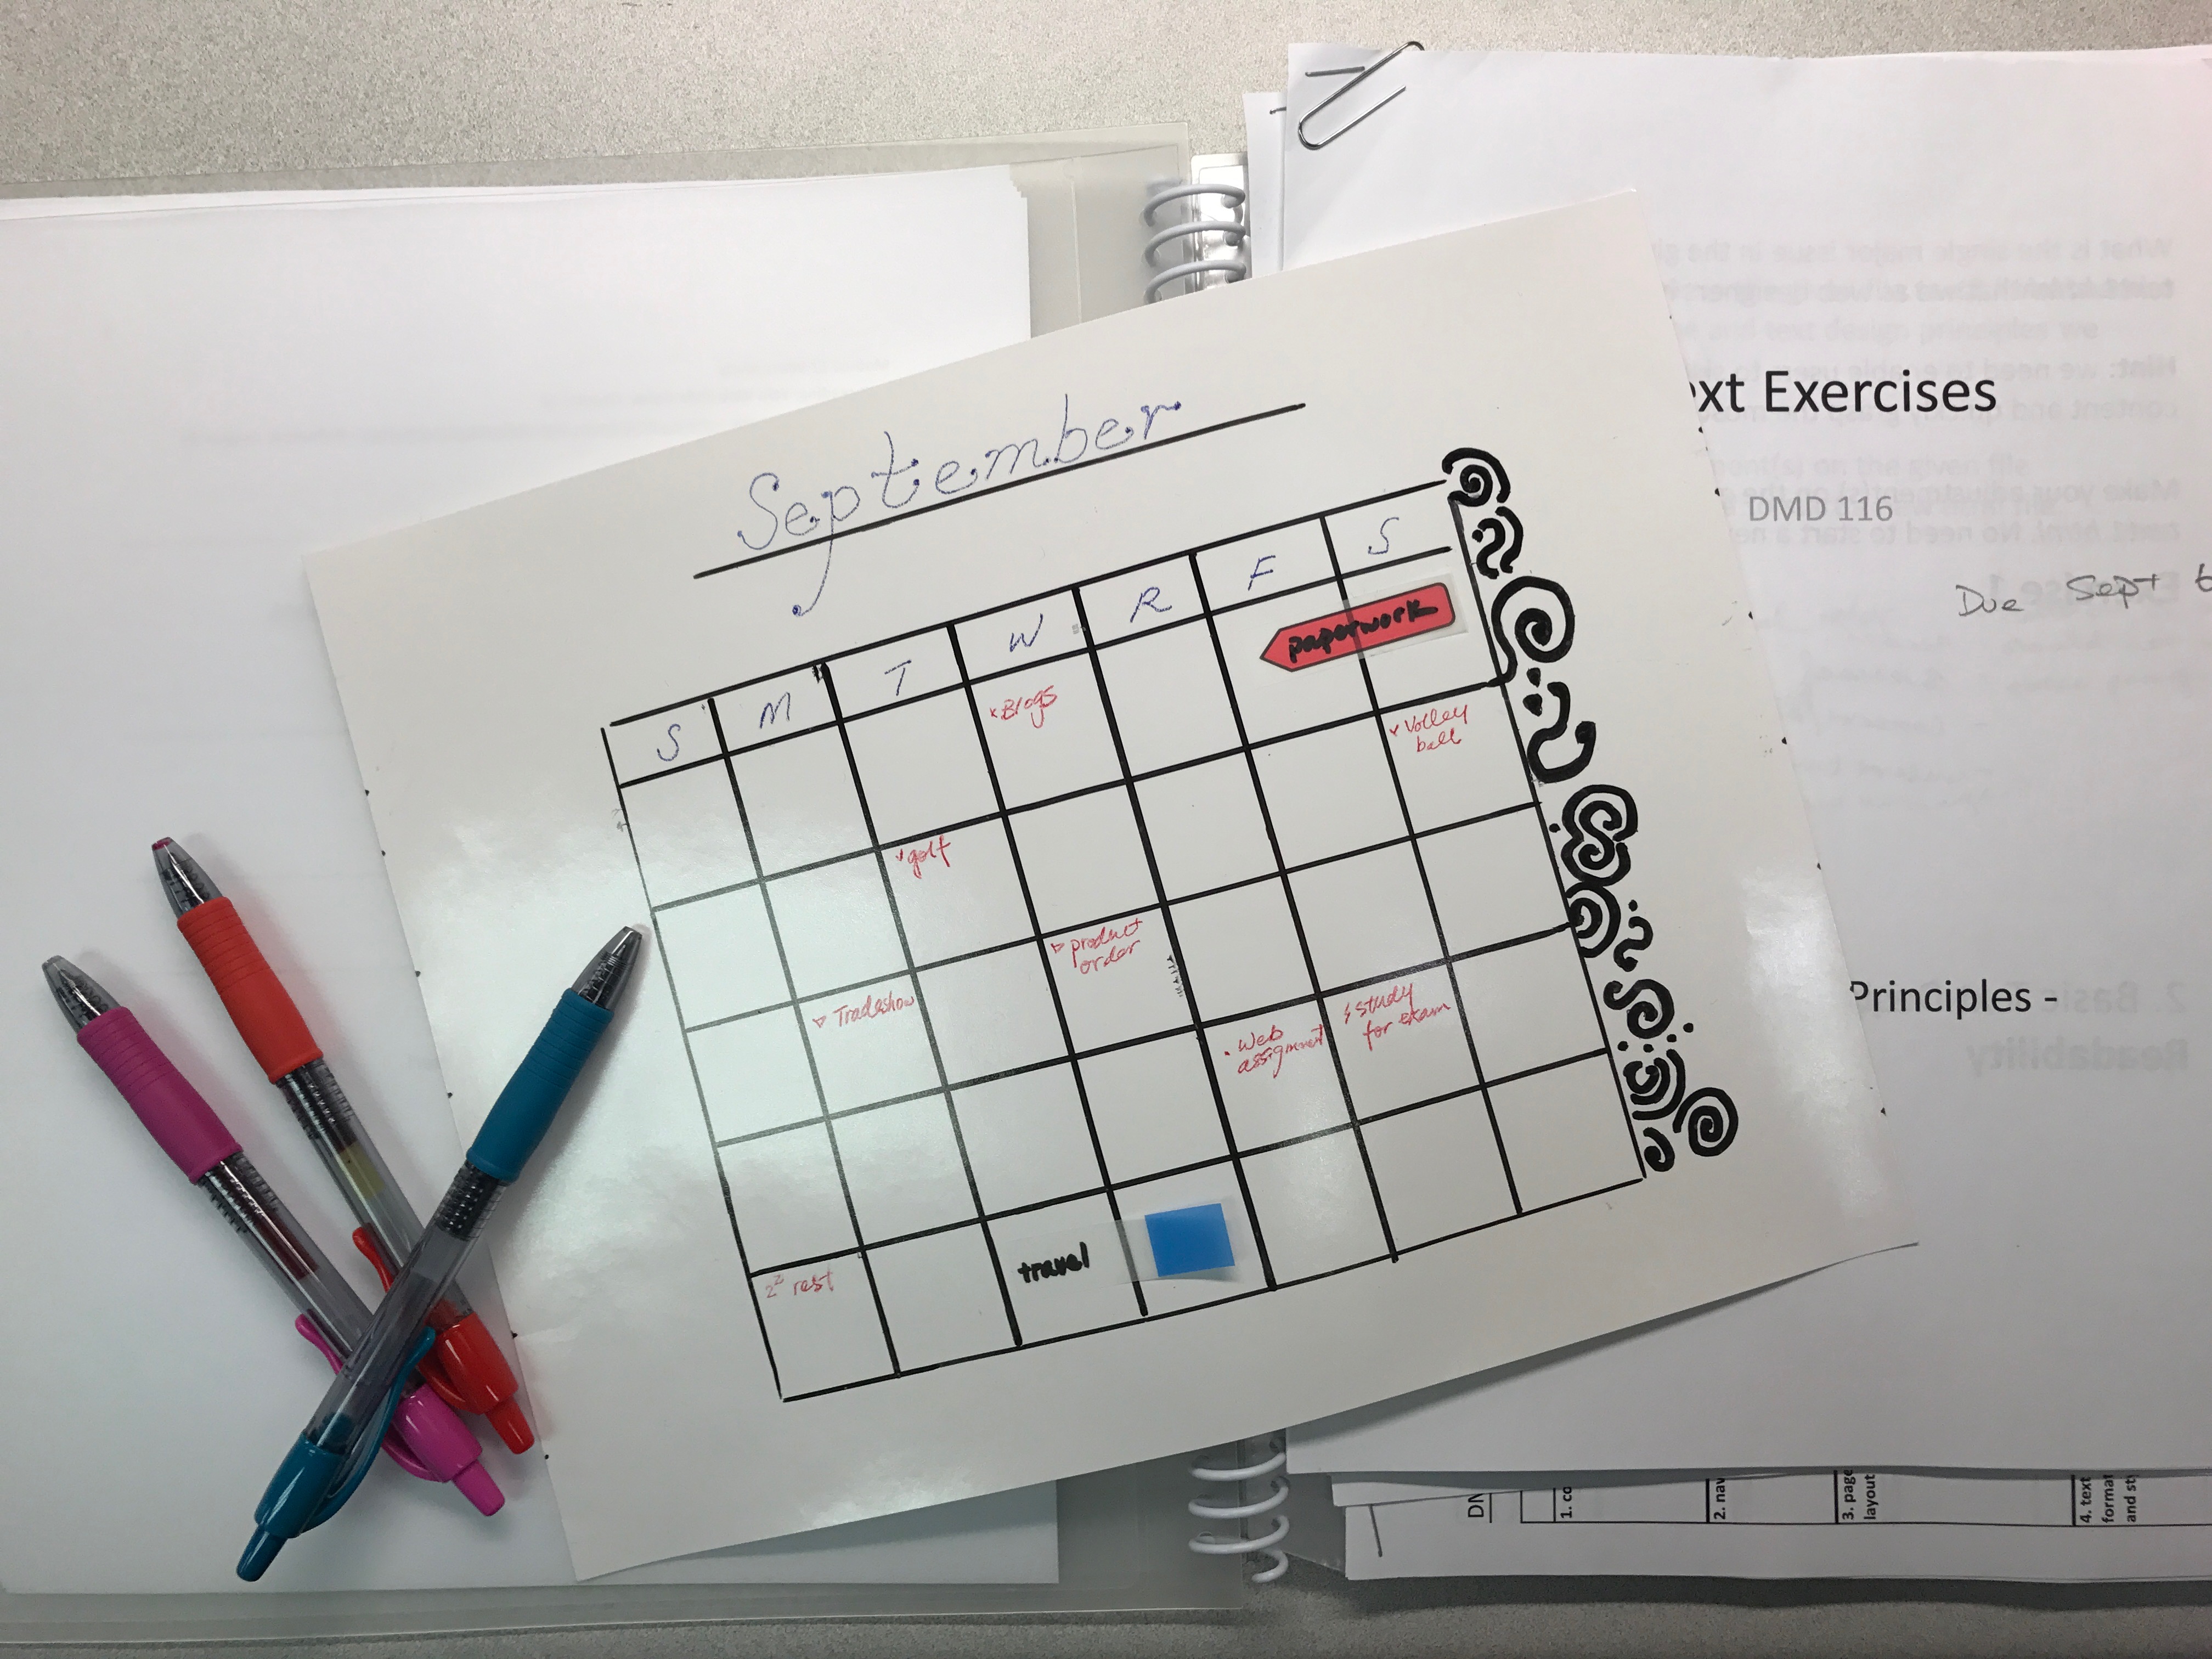 Be creative and make custom boards, calendars, charts, to-do lists and more with the Dry Erase Sheets. Be creative and make custom boards, calendars, charts, to-do lists and more with the Dry Erase Sheets. |
The best part of the Dry Erase Sheets is that it can be removed and re-positioned on to any flat surface area such as doors, walls, chalkboards etc. I have attached it in my notebook so I not only can have a clear visual of my schedule, but also have access to my documents at the same time.
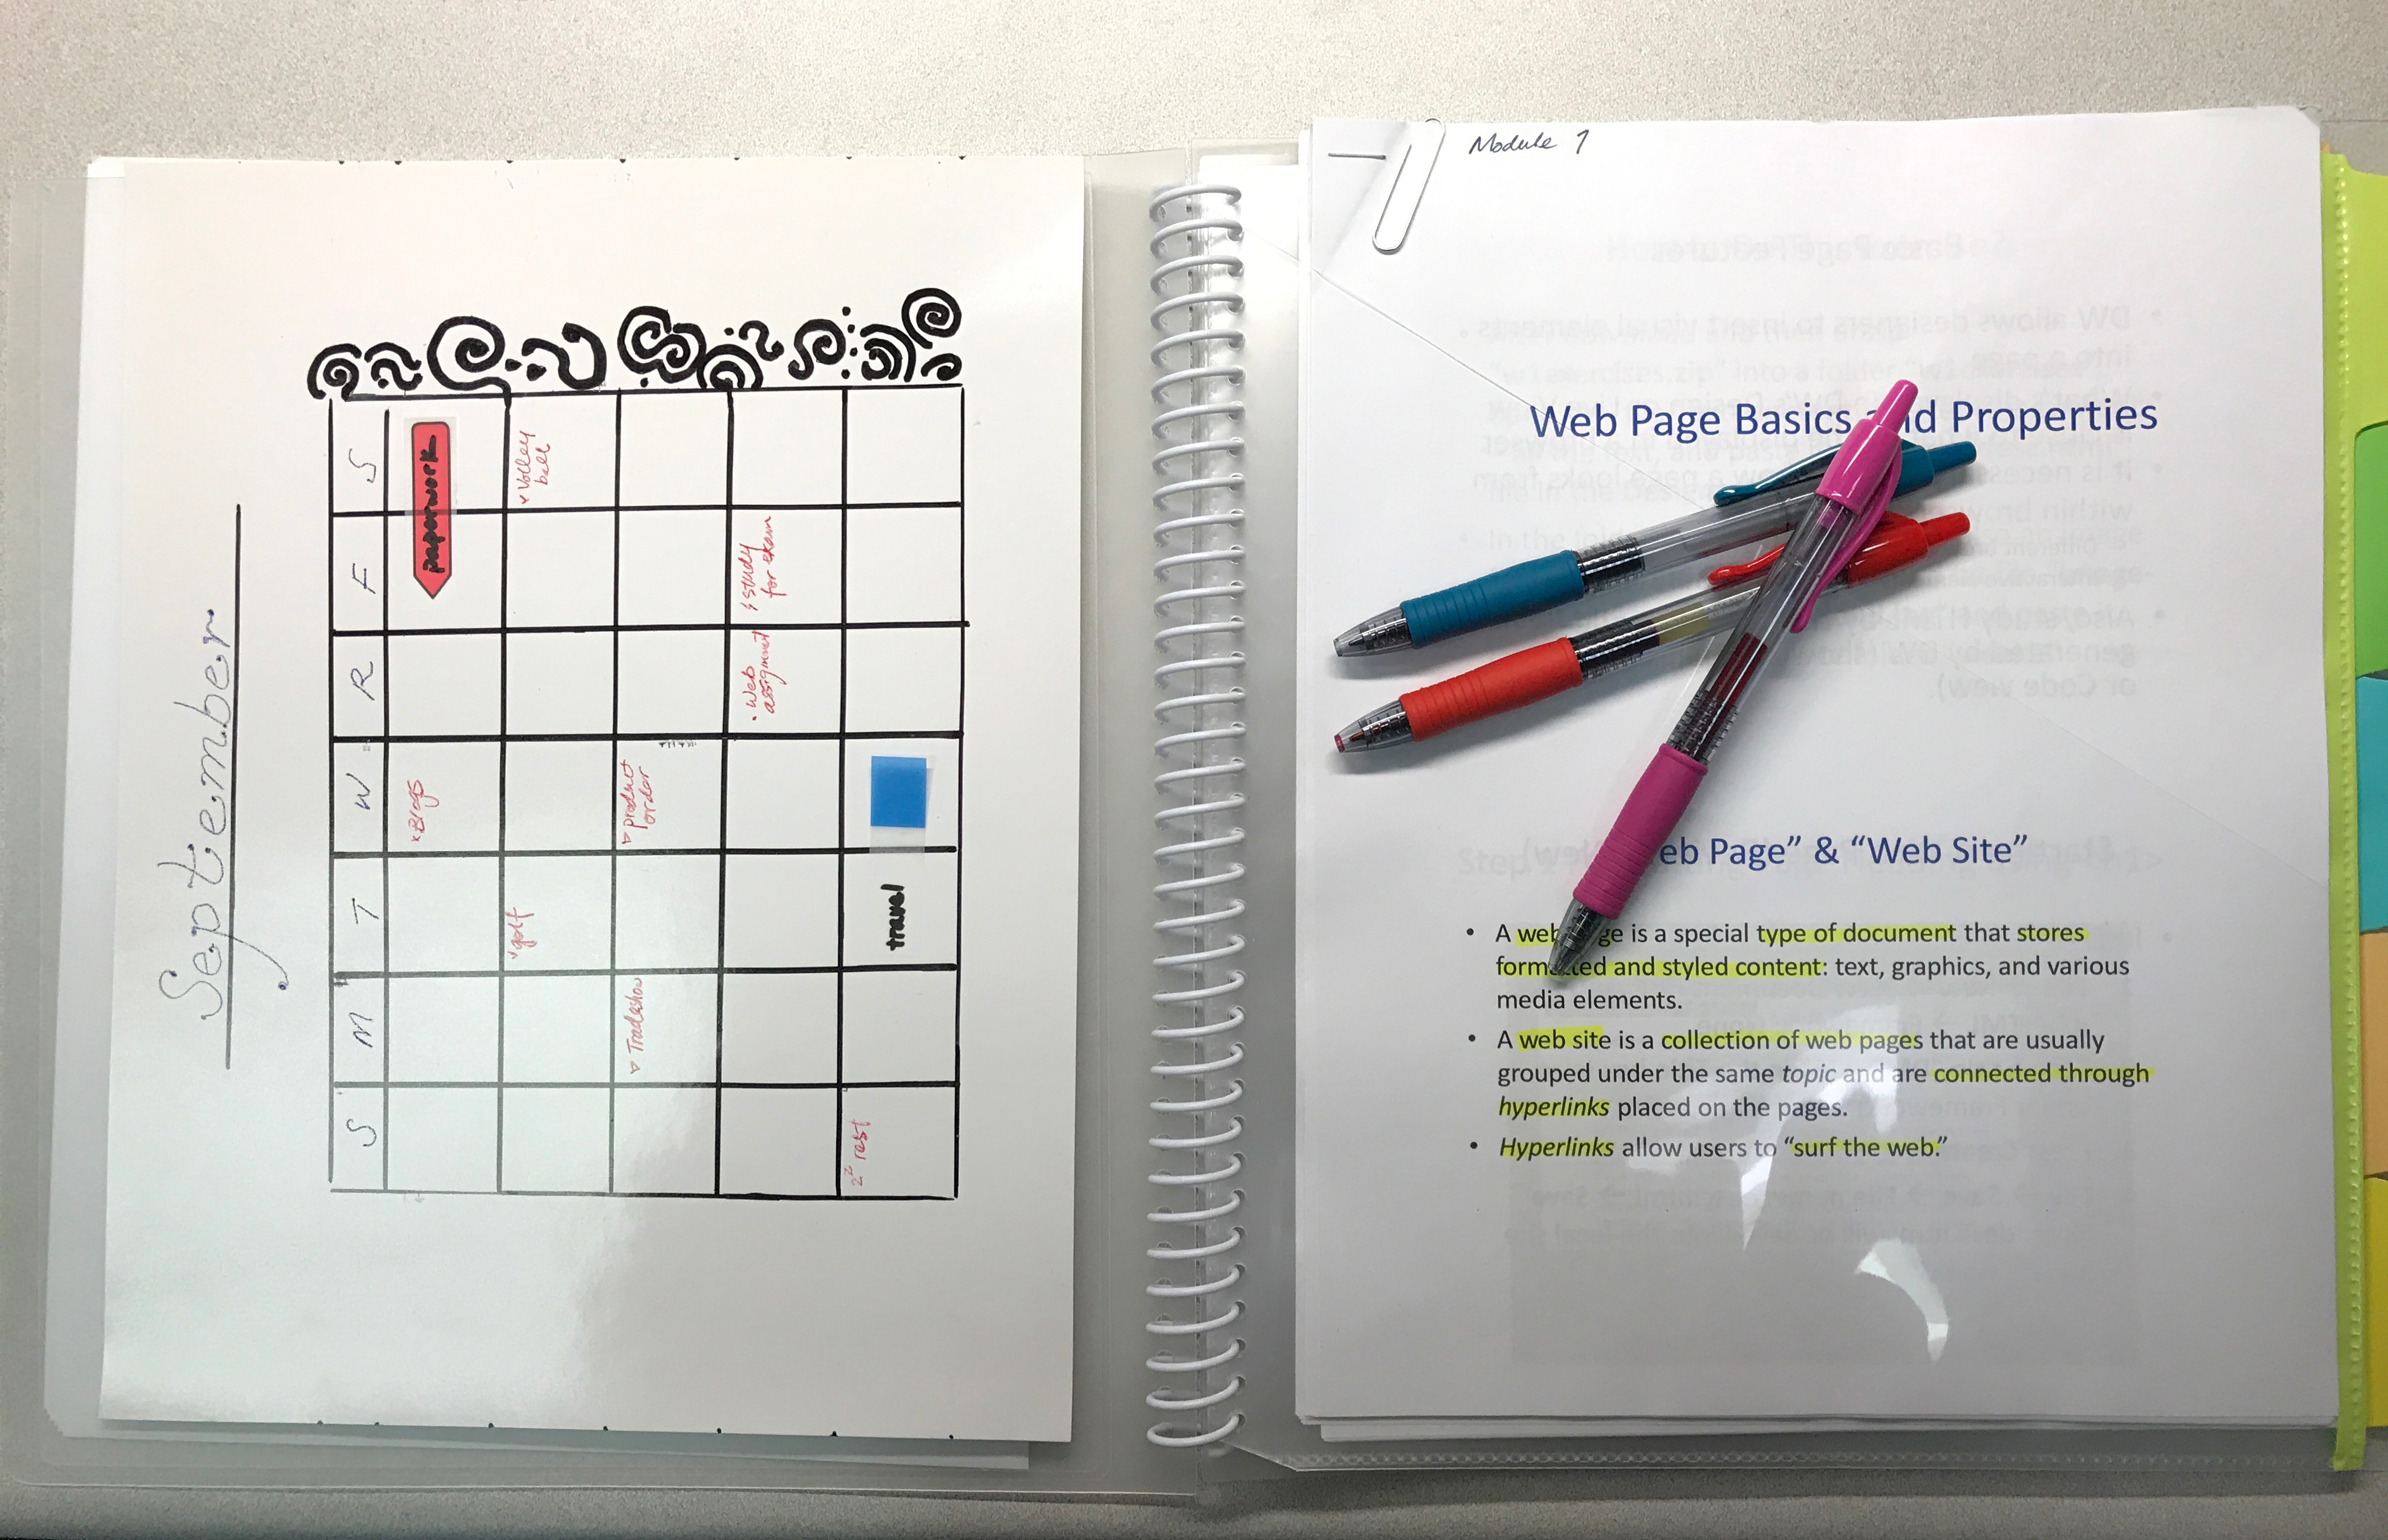 Adhere the Dry Erase Sheets on to a notebook, wall or any flat surface. Adhere the Dry Erase Sheets on to a notebook, wall or any flat surface. |
Turn
Dry Erase Sheets into whatever you want them to be. Don’t limit yourself! Show us what you created with the Dry Erase Sheets and share with us on
Facebook!

Leave a Reply
Your email address will not be published. Required fields are marked *